Home Decor
DIY Shiplap – How To Get The Look For Less!
Jun 1, 2020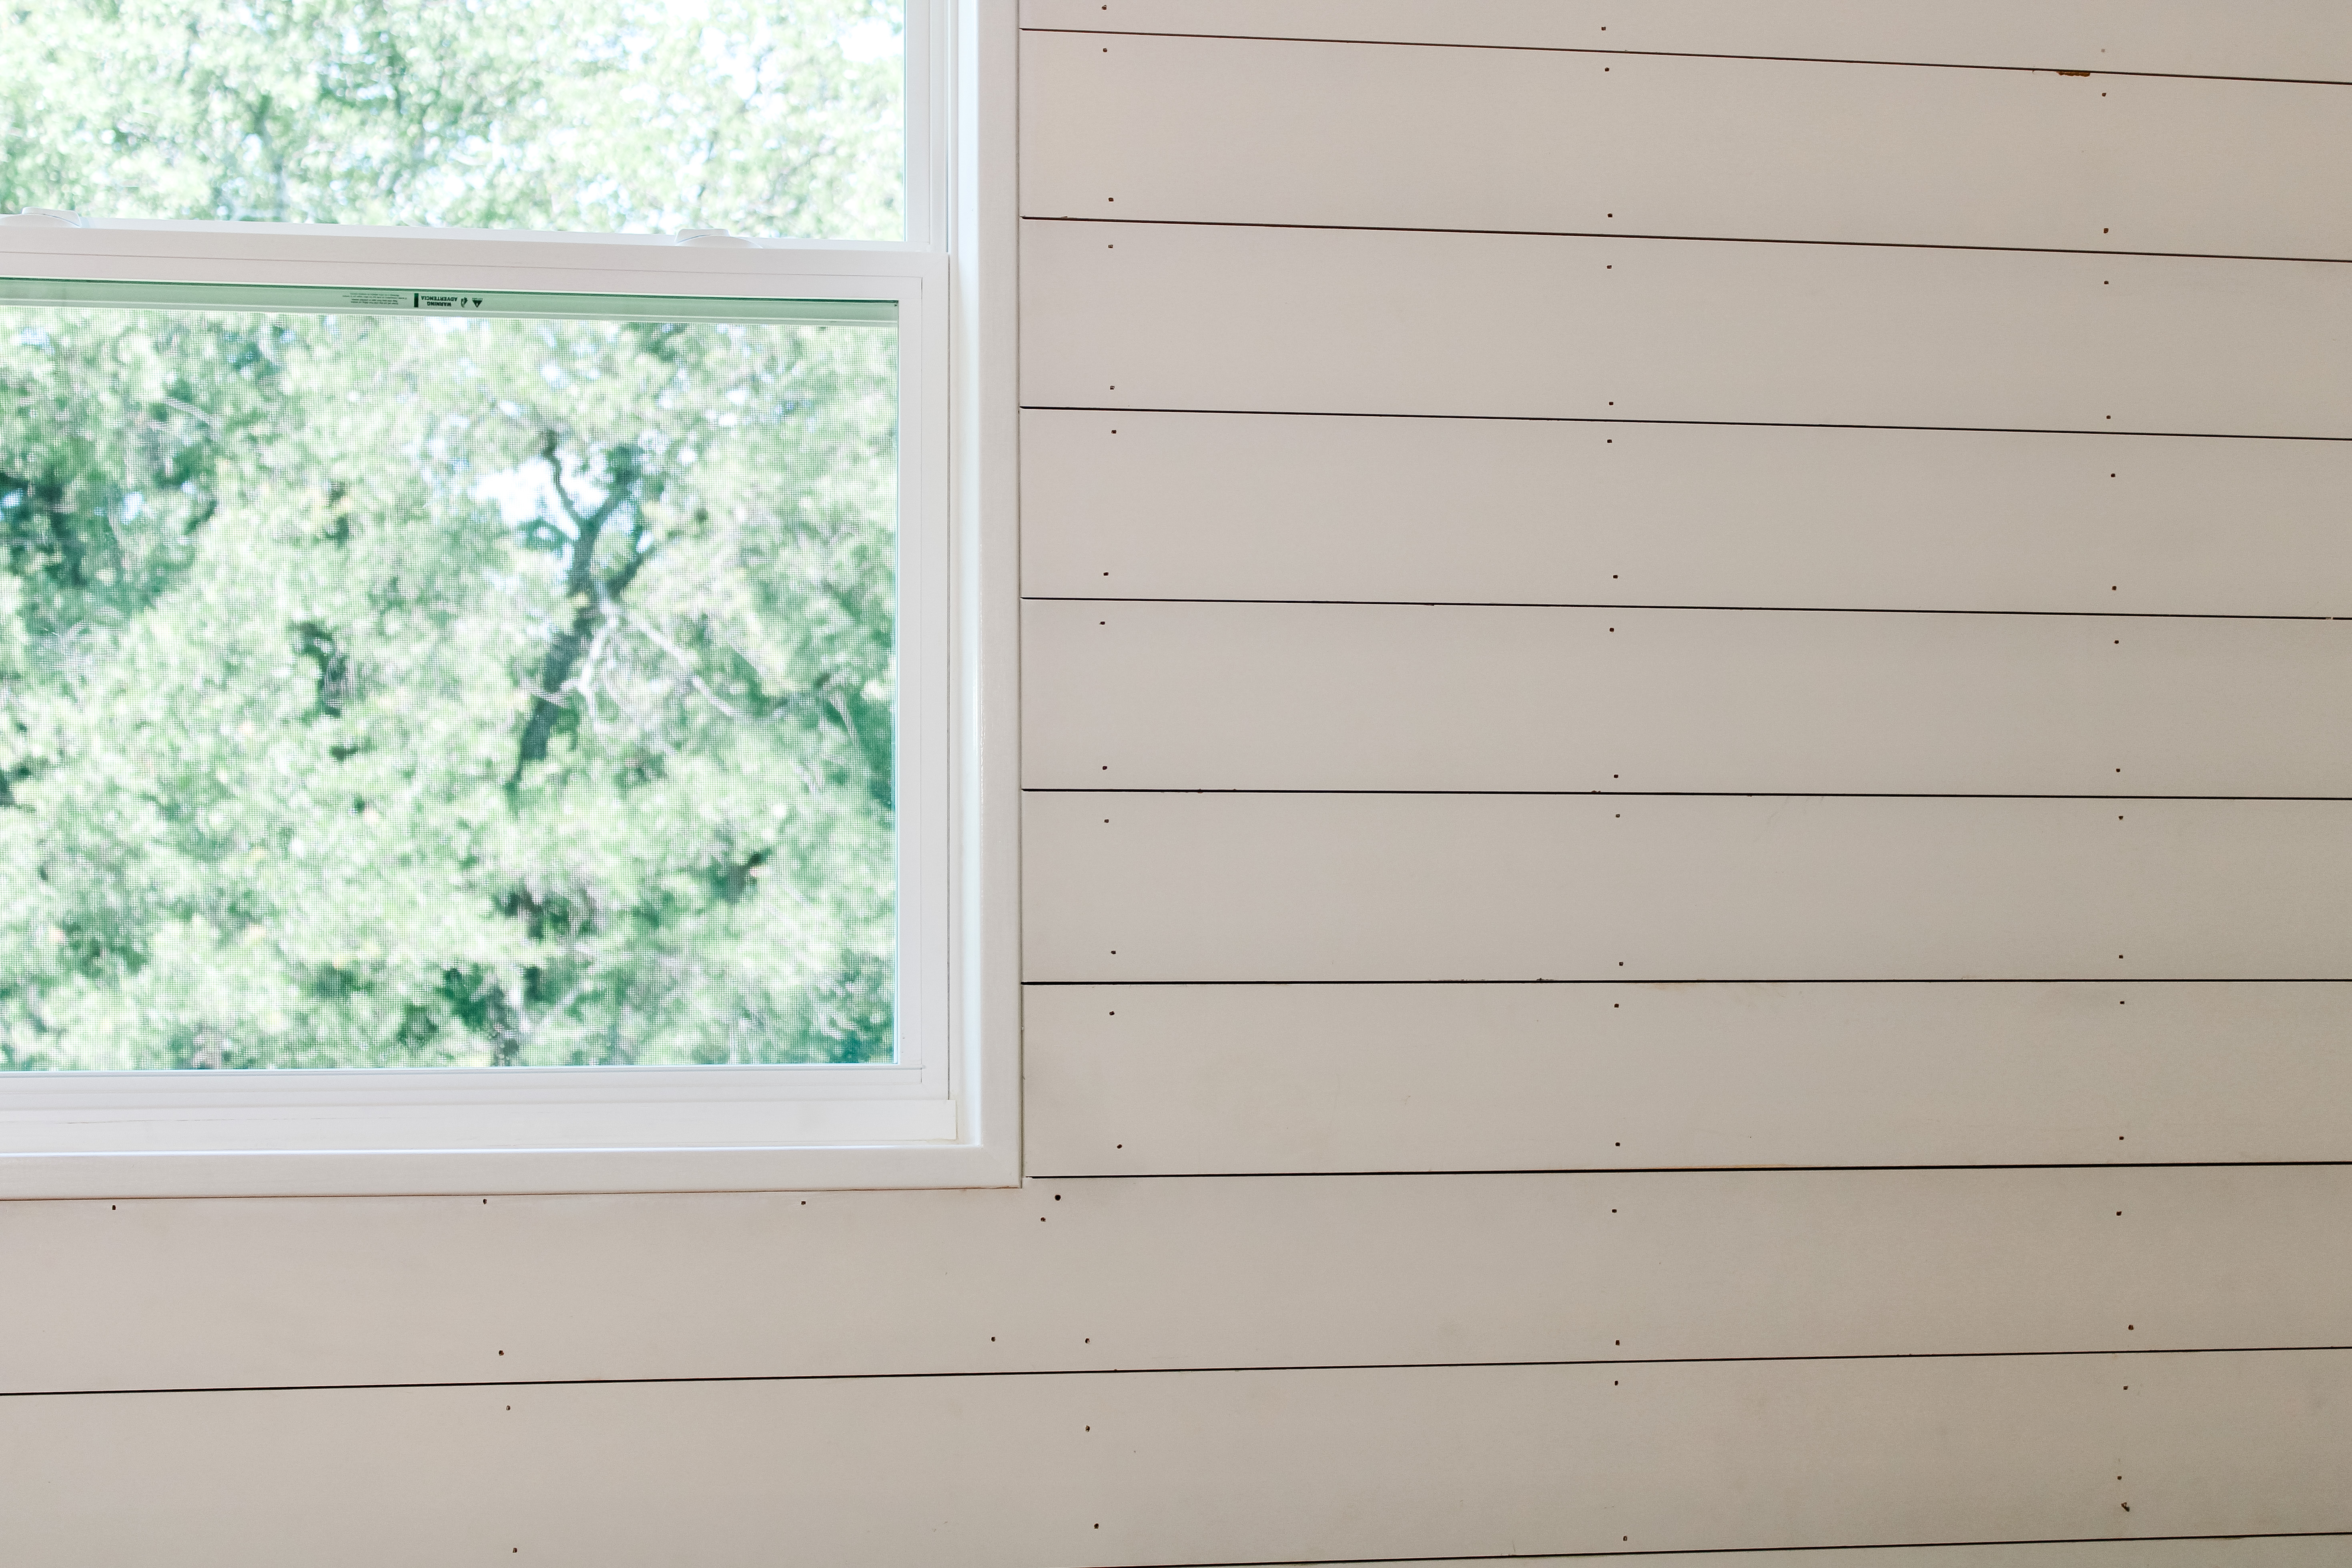
If you’ve ever thought about adding shiplap to an area of your home, but don’t know where to begin with this kind of DIY shiplap project….
keep reading!
There are two ways you can go about this:
- The Easy Way
- The Hard Way

MATERIALS NEEDED – for THE EASY WAY:
- pre painted lumber (ie: Home Depot’s finished elegance)
- tape measure
- pencil
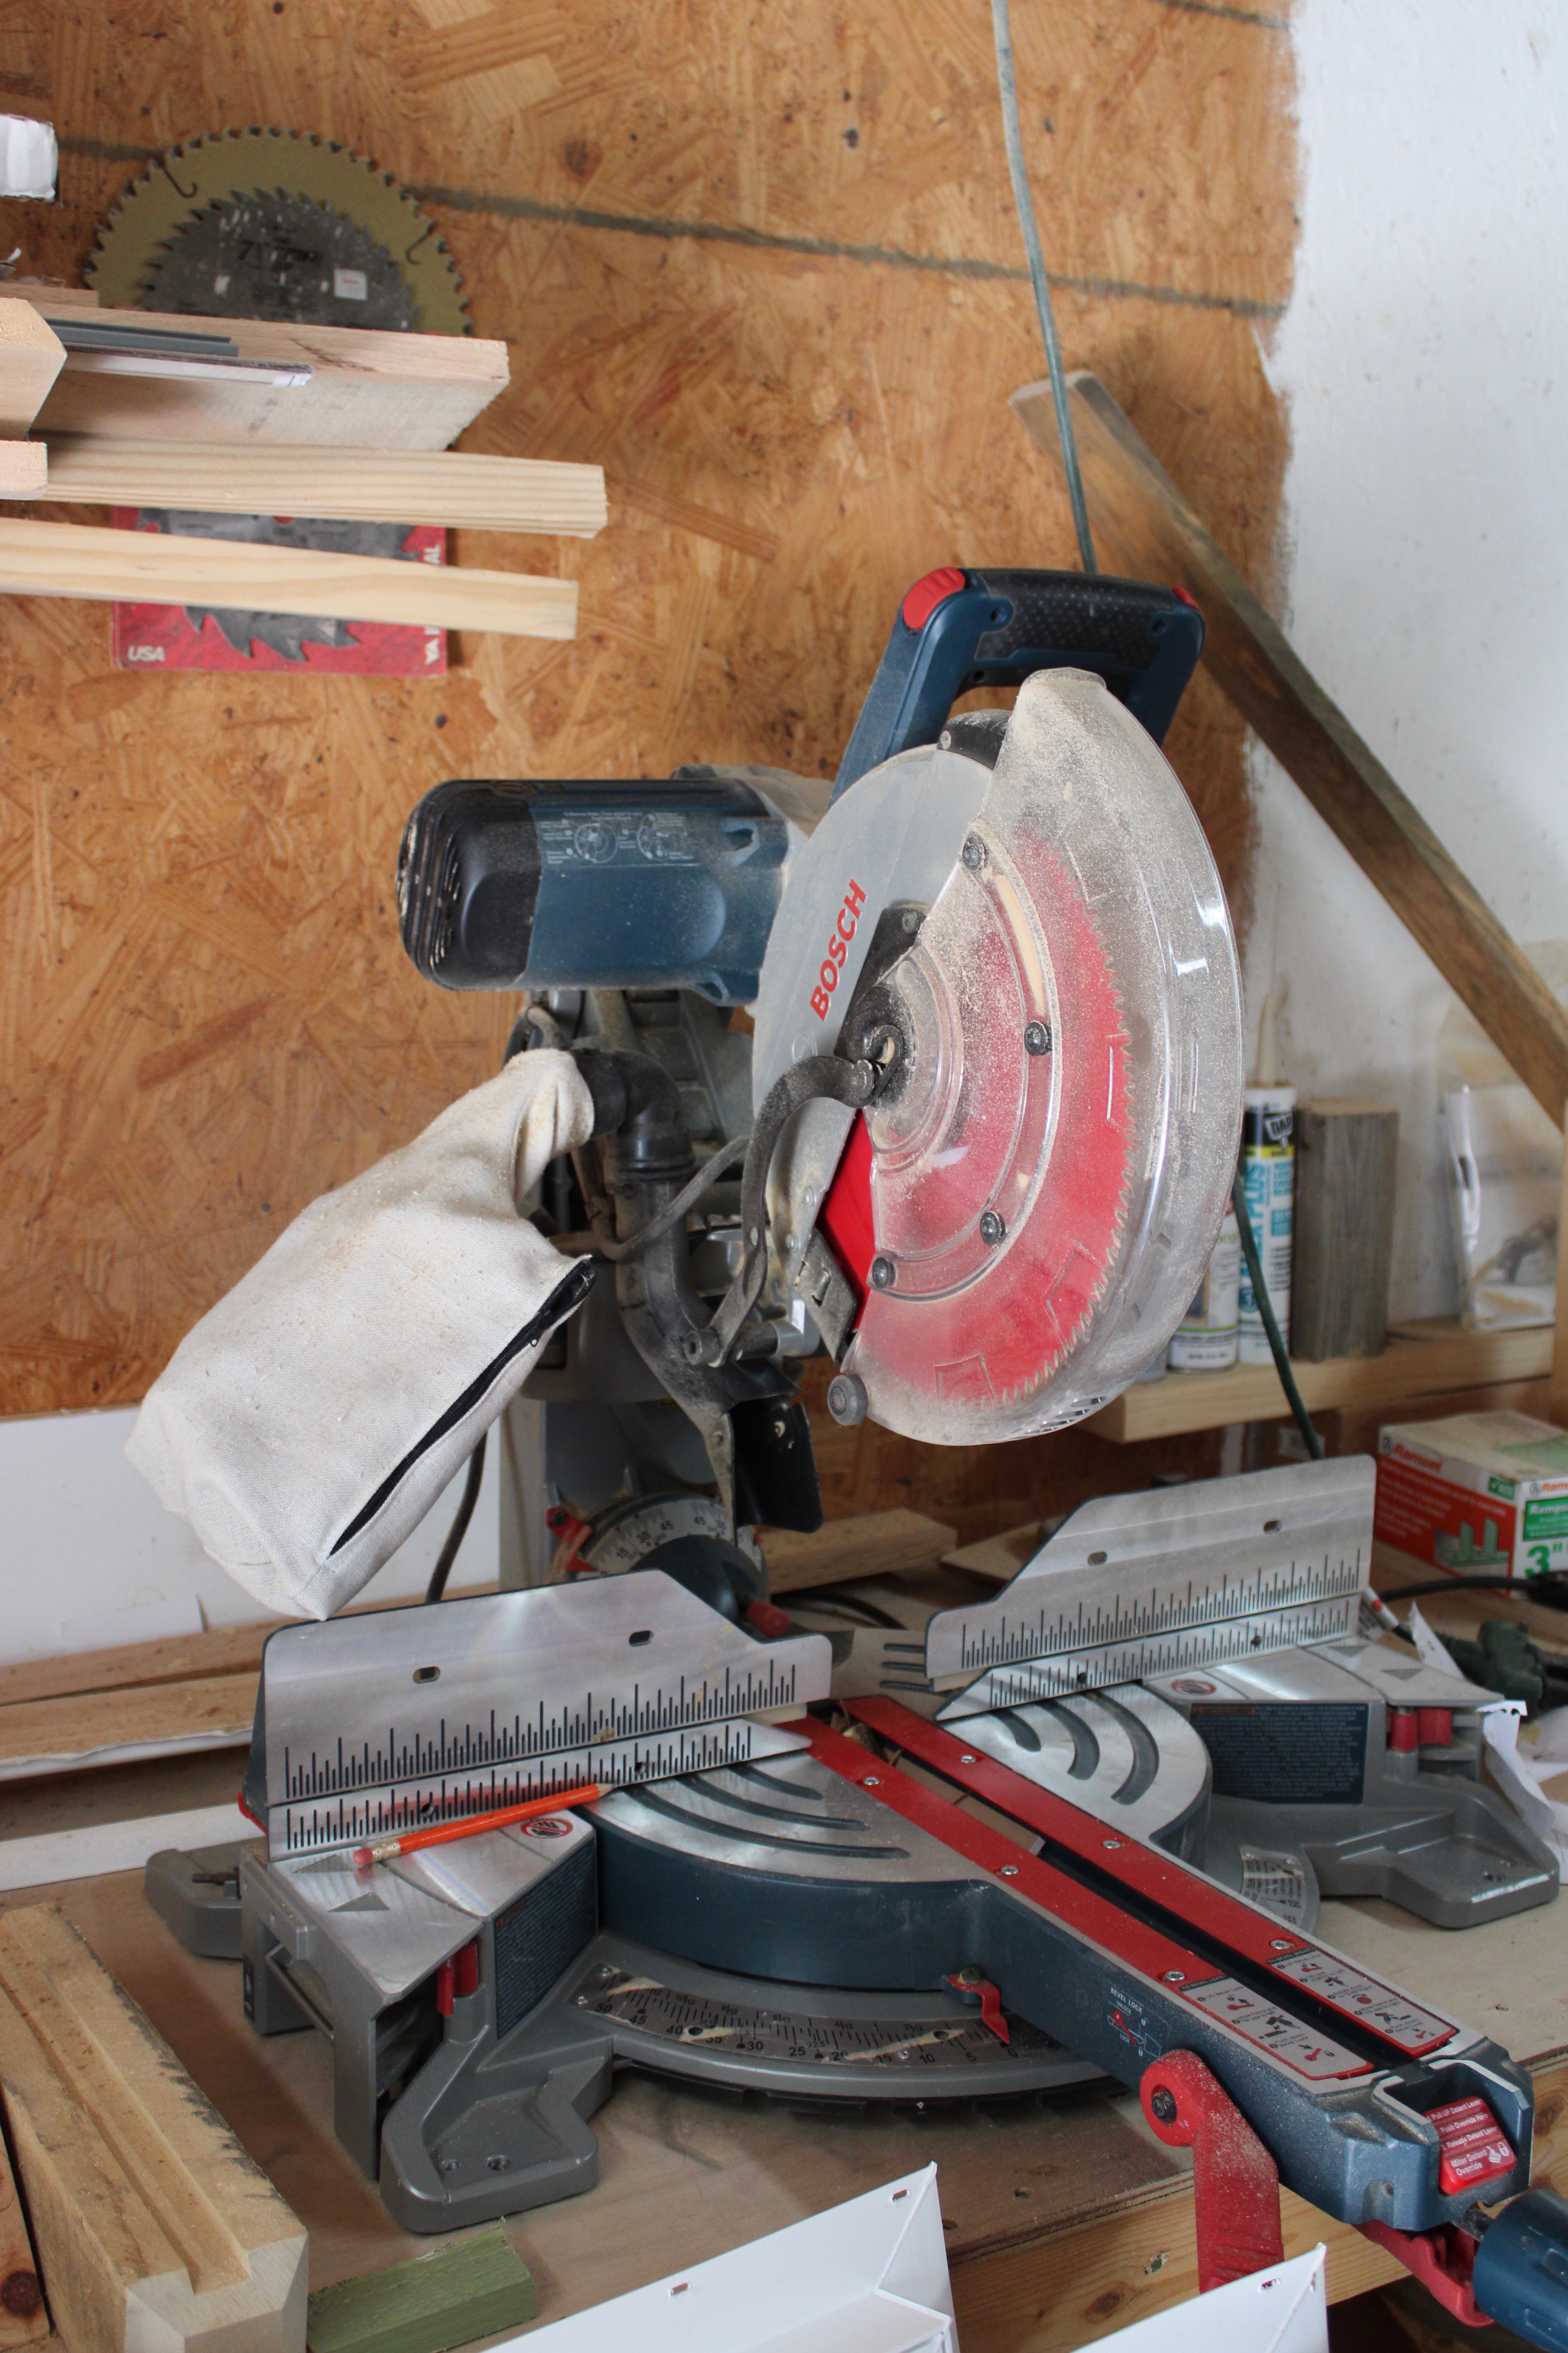
- power miter saw
- caulk gun
- adhesive (for the caulk gun)
- air compressor
- 50 ft. hose
- nail gun
- 2-inch nails
Materials Needed – for THE HARD WAY:
- plywood
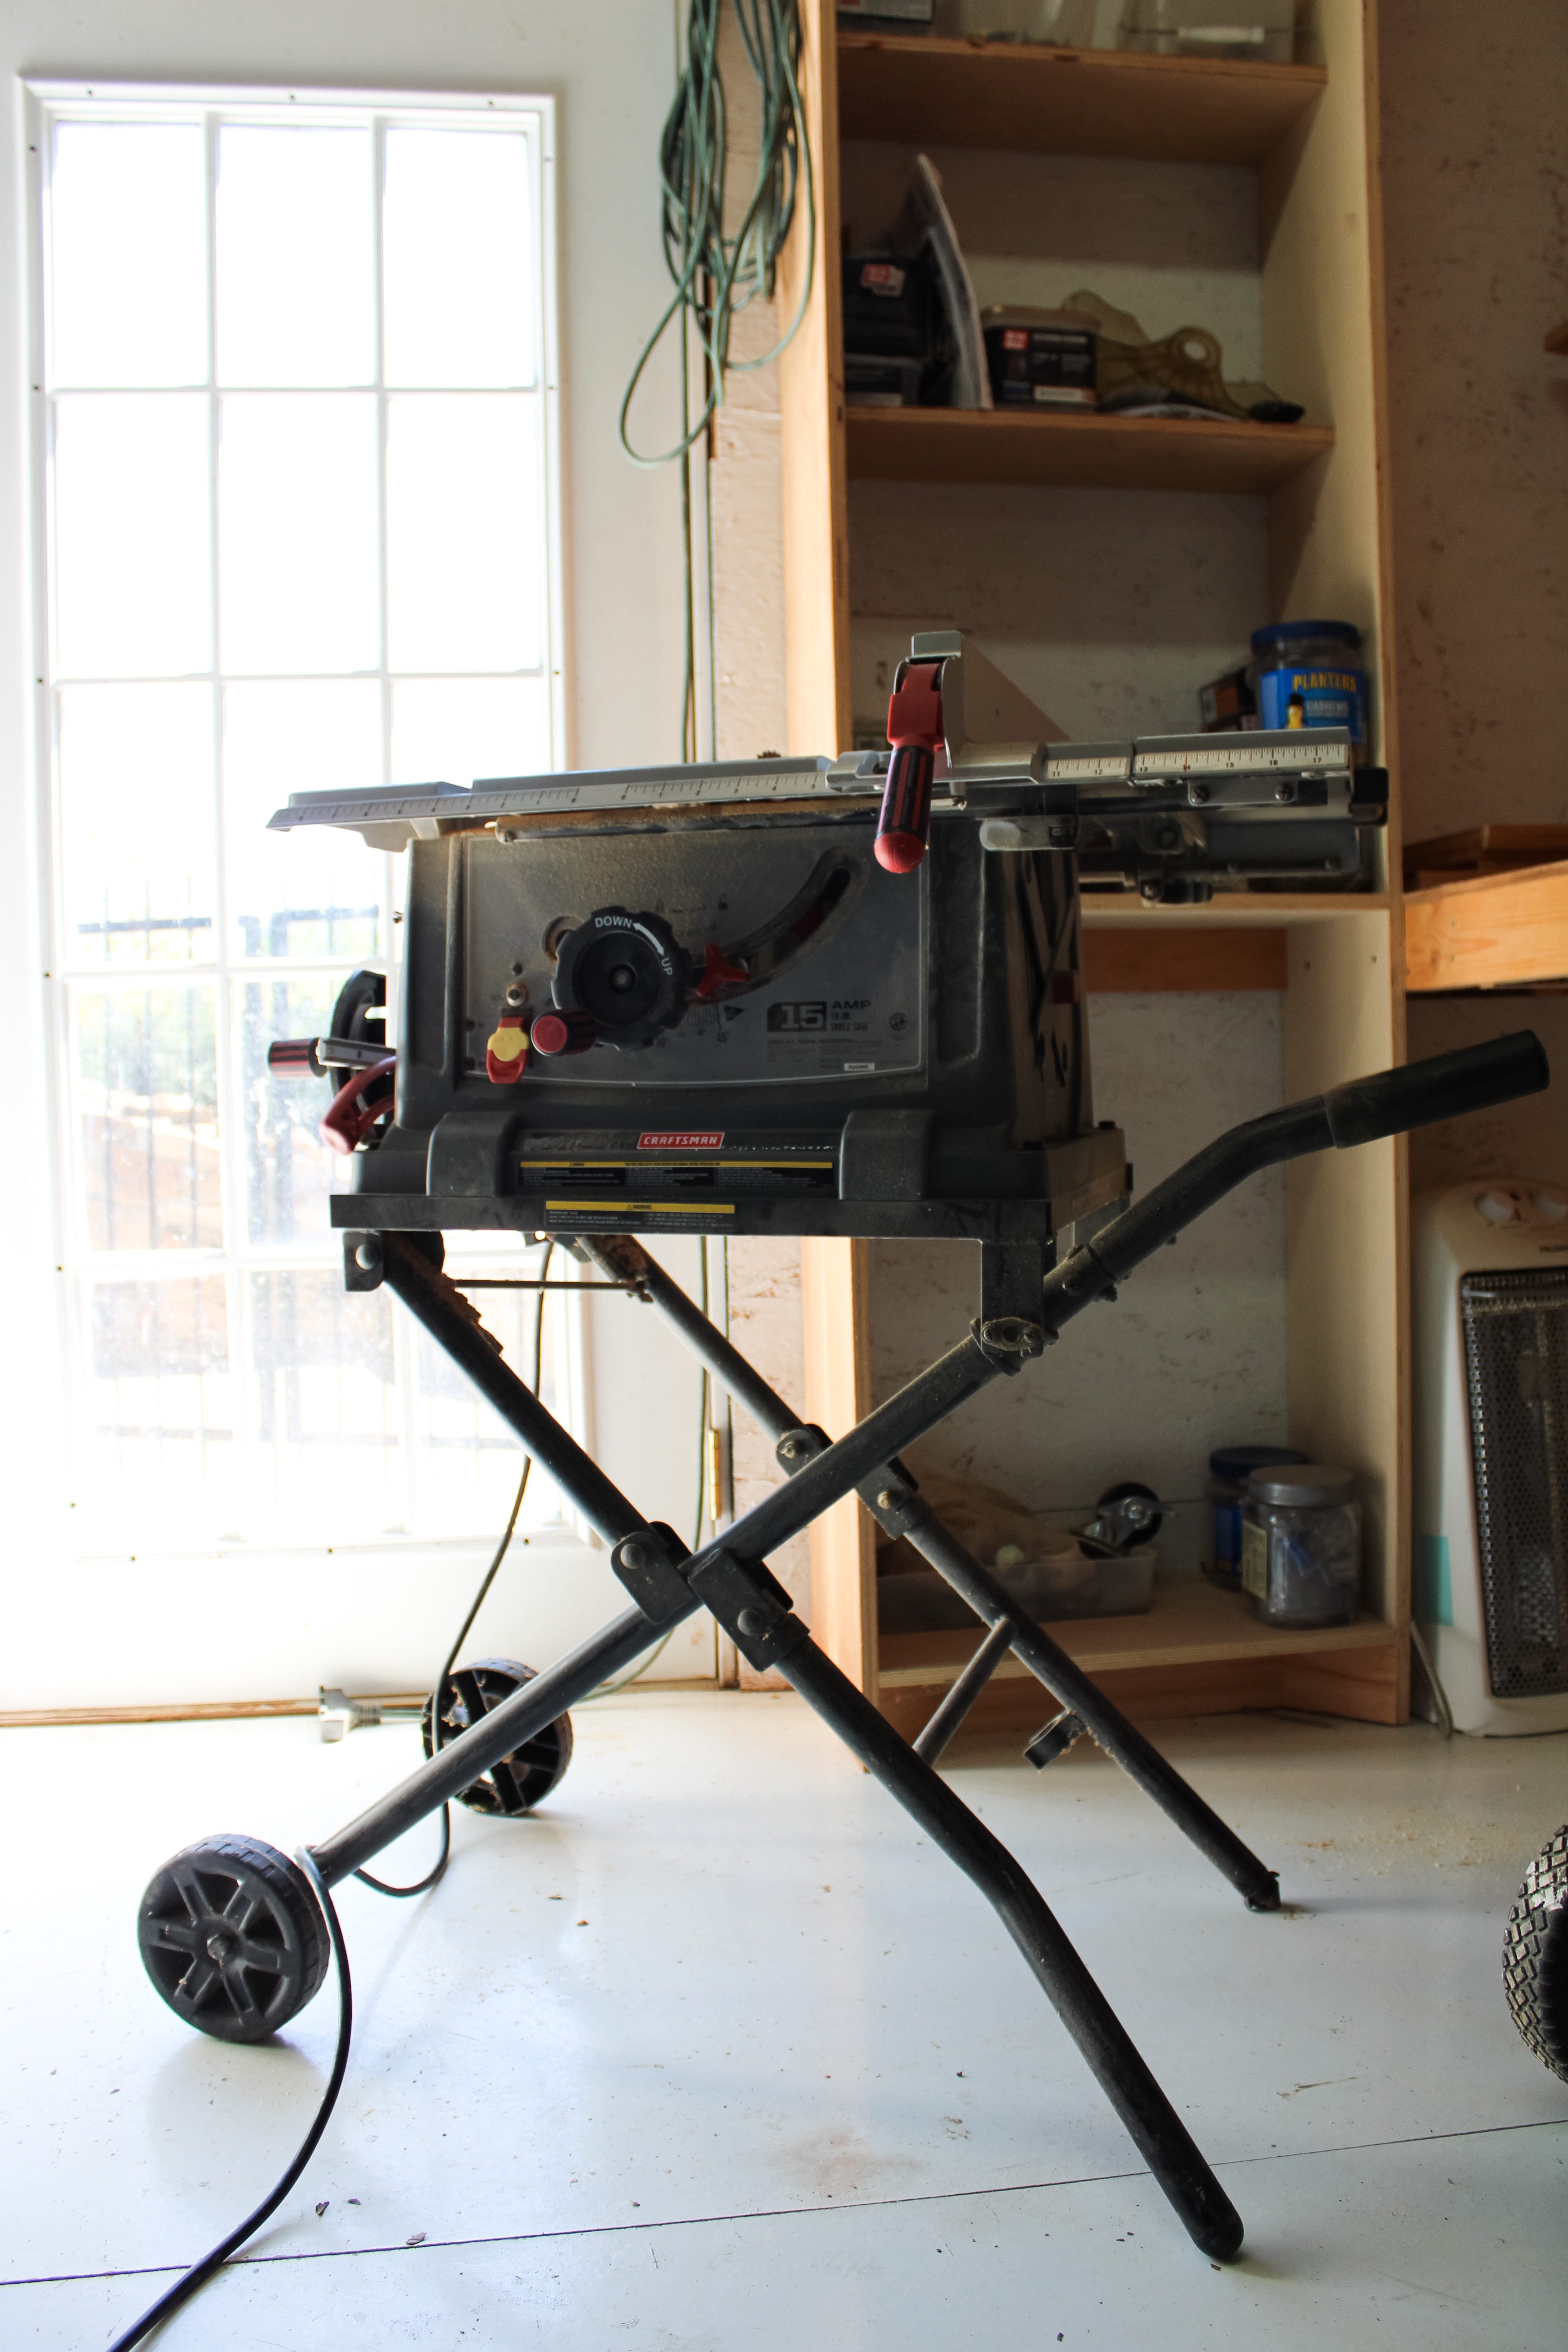
- table saw
- sander
- paint
- paint brush
- tape measure
- pencil
- power miter saw
- caulk gun
- adhesive (for the caulk gun)
- air compressor
- 50 ft. hose
- nail gun
- 2-inch nails
Instructions for DIY Shiplap – The Easy Way
- clear everything from the space you’re wanting to diy shiplap
- measure your wall to see how much material you need for the project.
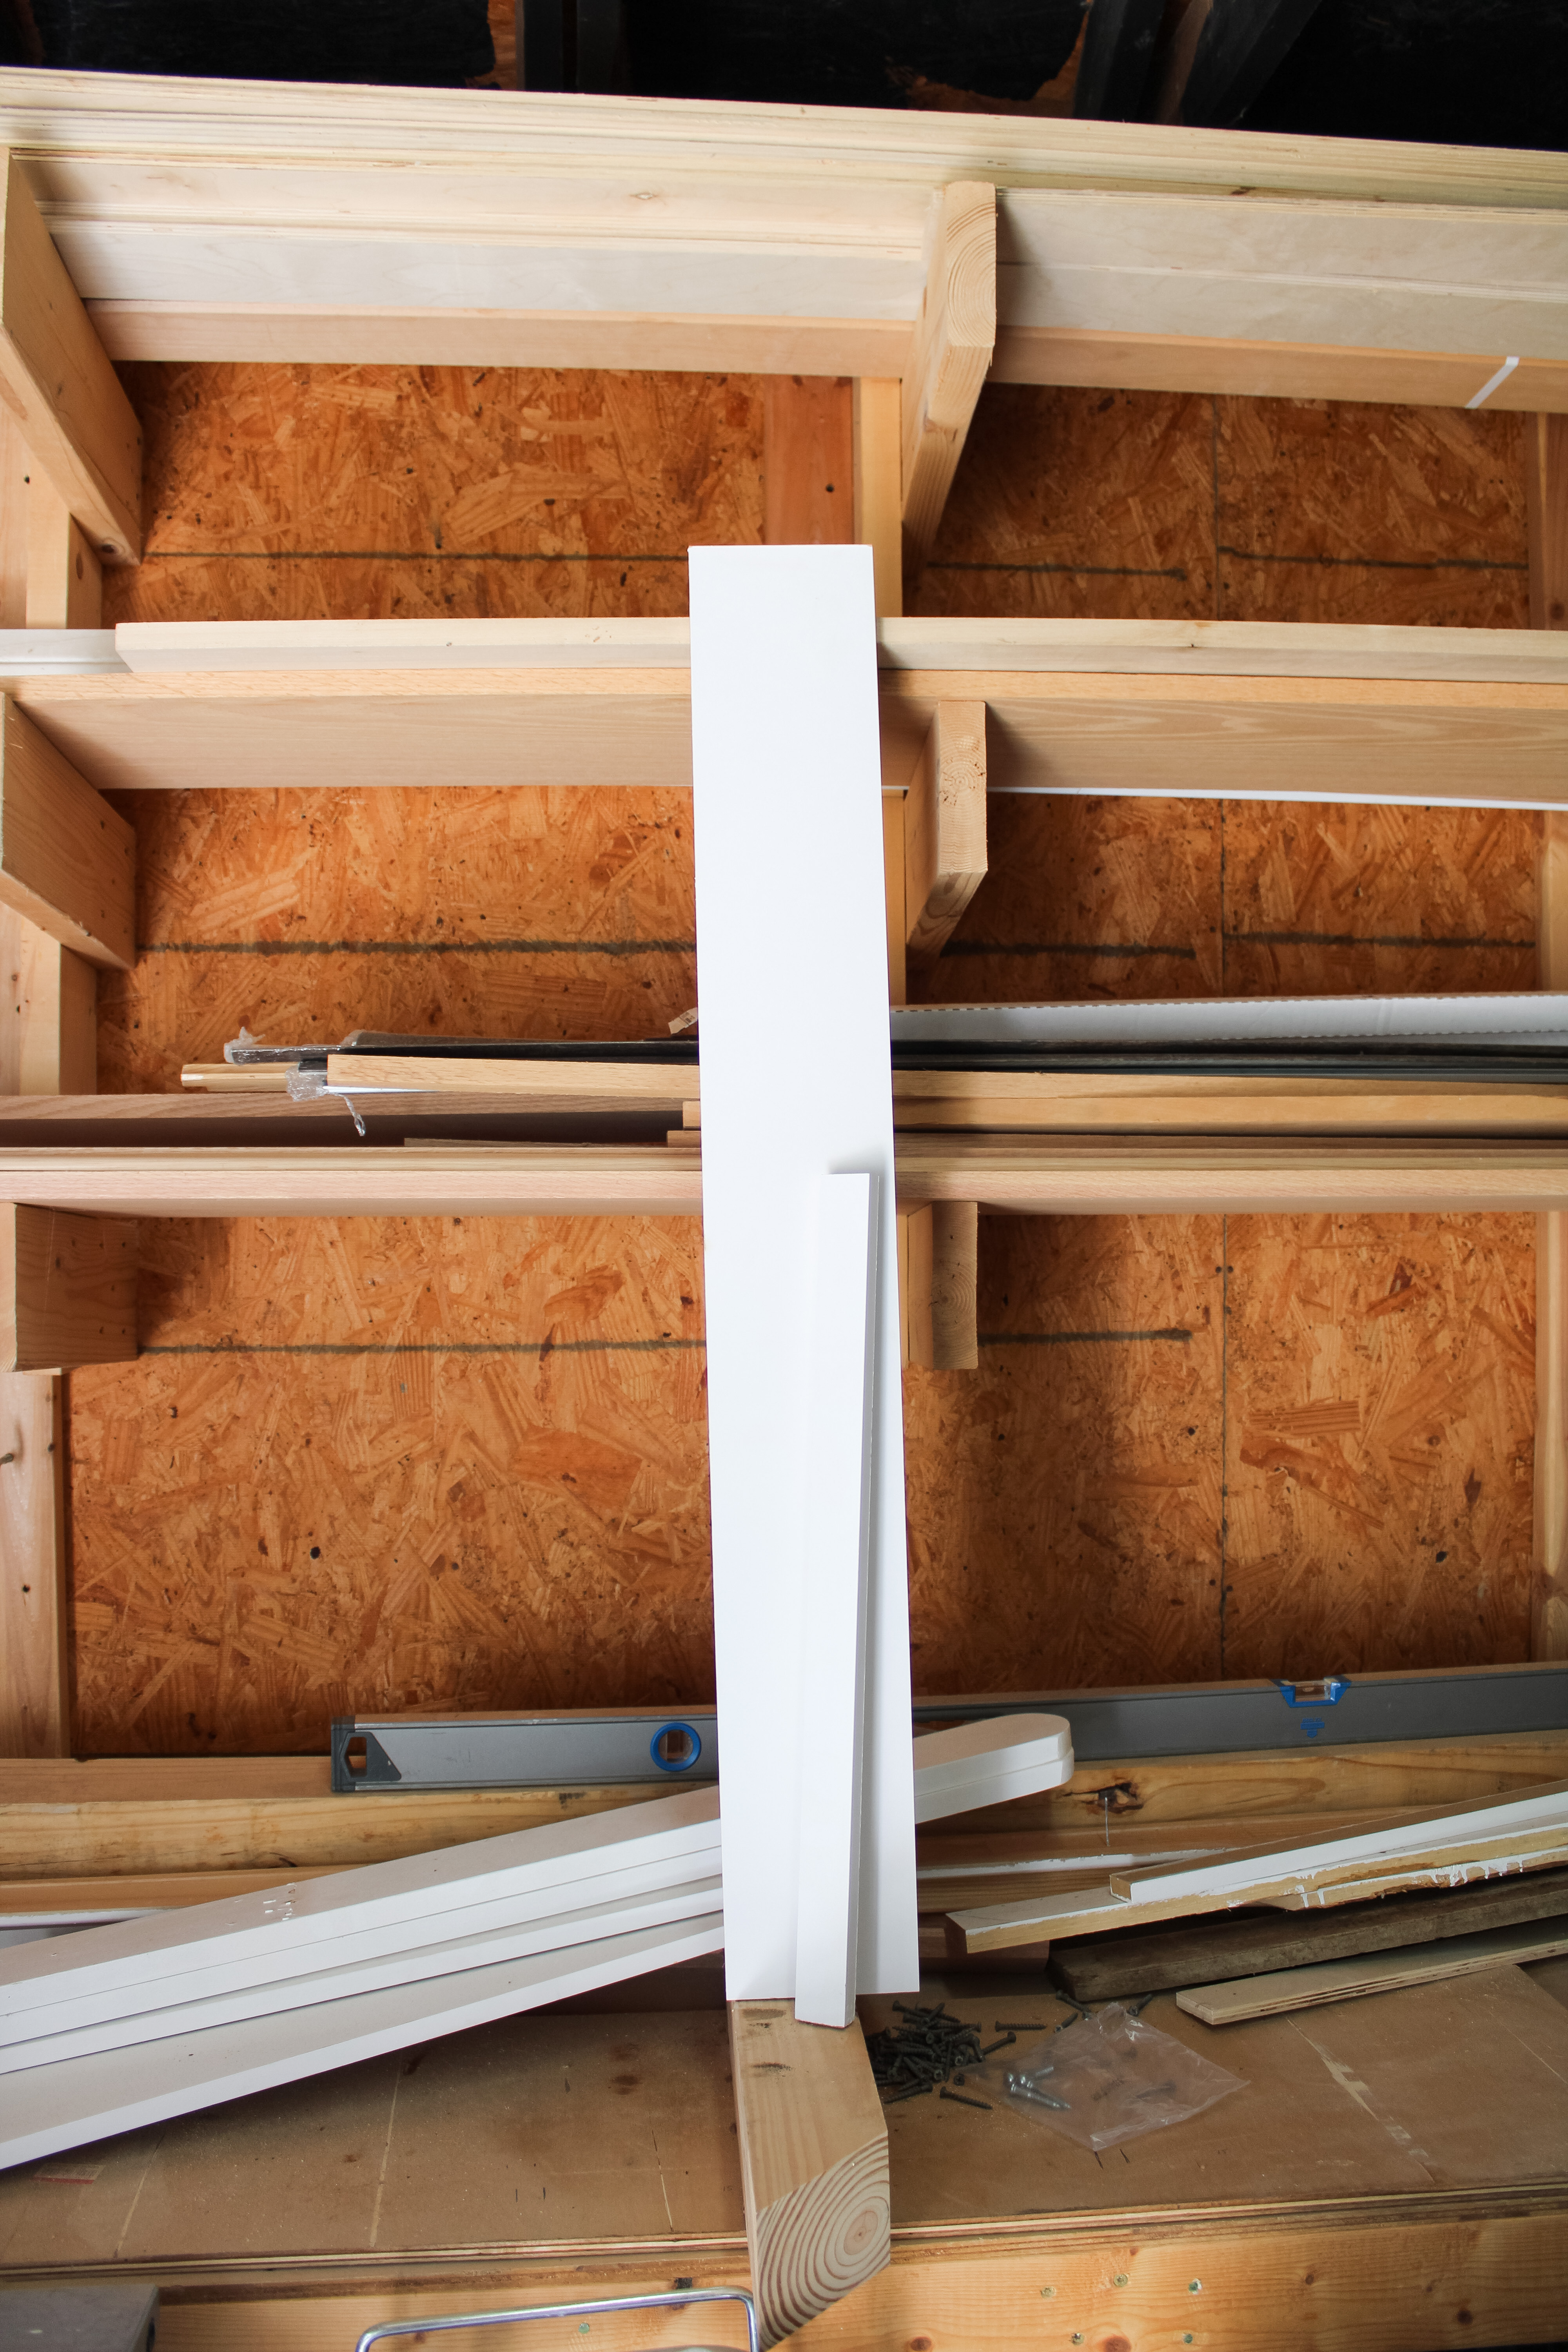
- go to Home Depot and get your medium density boards measured at the service counter. Pictured above are the medium density fiberboard 1×6 and medium density fiberboard 1×2 (this one will be used for your trim).
- pro tip: buy 10% more than what you “need” just in case. If you have an 8 ft x 10 ft wall you will need 80 square ft. but you should probably purchase 88 sq. ft. Do you have an 8 ft x 12 ft wall? If so, purchase 110 sq. ft. for a 96 sq. ft. wall.
- go grab a healthy snack, because you’re going to need energy! Here are some healthy snack ideas.
- pull up all of your existing base board
- cut your first board to length
- apply adhesive to the back side
- start stacking the faux shiplap approximately 1/4 to 1/2 inch above the floor (depending on which kind of flooring you use). Whatever height matches your existing or proposed finished floor…
- continue stacking the faux shiplap material upward with spacing included. You can use quarters, nickels, or actual spacers if you have them. You just need to nail your bottom board down and lay quarters (horizontal) on top of the board which leaves about 1/16 of an inch gap. Now, place your next board on top of that, nail it off to each stud, and simply pull your quarters out. This will give the illusion of shiplap, because it leaves that tiny black line in between the beautiful white boards. The shiplap effect is really just parallel boards with a shadow or a gap between them so that you have all of the symmetrical lines.
- make sure to cut around electrical boxes (which may need to be pulled out a little bit so that they are completely flush with your new material).
- frequently the piece on the very top has to be cut to a custom width. This can be done if you have access to a table saw or a circular saw. Of course, you can always go to your local Home Depot and ask them to do it.
- pro tip: you should always put two or three nails in each board where the stud is. you can leave the nail holes exposed for a more “lived in” look or cover them up with white dap for a smoother, more modern finish.
Instructions for DIY Shiplap – The Hard Way
You might be inclined to save a few dollars by using 4×8 sheets of plywood and ripping them to the desired width. Although frugality is a virtue, the drawbacks are: plywood that needs to be thoroughly sanded and painted before using (which takes additional time and money for paint, brushes, etc…)
Available plywood comes in a maximum size of 4′ x 8′. If your wall length exceeds 8′, then splices would be required – which detracts from the nice horizontal flow of the symmetrical lines.
Again, if you choose to go with standard plywood versus the medium density fiberboard that is pre-painted, you will need a table saw and two people for the job. You will also need to sand each board down with a sander and put on several coats of paint a couple of days in advance. Once it’s dry, you can begin cutting the pieces to size.
And that’s it!
You’re officially one step closer to creating change in your home by doing this simple DIY shiplap project. I hope you love how your space looks and that it makes your house seem more airy, fresh, and updated. Remember, shiplap can be achieved more cost effectively, by using a rectangular piece with a spacer between each board to create the parallel lines we all love so much.

What are you planning on adding shiplap to? A home office? An accent wall? Let me know in the comments!
 Style
Style
 Recipes